Expert Secrets for Wood Restoration: 10 Tips You Need to Know
- admin
- January 13, 2023
- 8:56 pm
- No Comments
If you’re an amateur woodworker or DIY enthusiast, you may feel like you’re always learning and trying to improve your skills. But when it comes to wood restoration, there are always more things to learn, and experts in the field often have a wealth of knowledge and experience that can be invaluable. In this article, we’ll share some secret tips that only experts in wood restoration may know about, including how to use a penetrating oil finish, how to repair small imperfections with a wood hardener, and how to use a wood conditioner before staining. Whether you’re a beginner or an experienced woodworker, these tips can help you to take your wood restoration skills to the next level.
Whether you’re a beginner or an experienced woodworker, these tips can help you to take your wood restoration skills to the next level.
Repair small imperfections with a wood hardener: When working with older or damaged wood, it can be tempting to try to cover up imperfections with wood fillers or putty. However, these products can be difficult to match to the color and grain of the wood, and they may not be very durable over time. A better option may be to use a wood hardener, which is a liquid that soaks into the wood and helps to strengthen and stabilize it. This can be a great way to repair small imperfections and extend the lifespan of the wood.
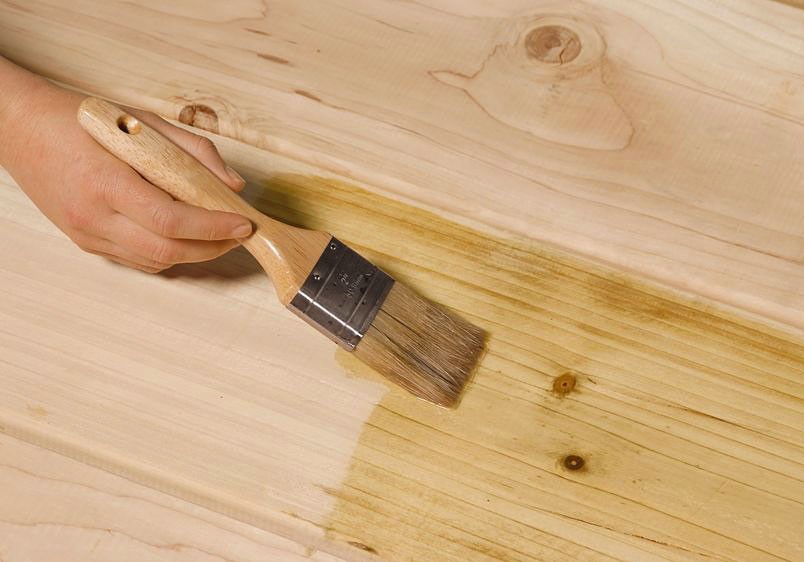
Use a wood conditioner before staining: If you are planning to stain wood as part of your restoration project, it is important to use a wood conditioner first. This will help to even out the absorption of the stain, resulting in a more even and consistent finish. Without a wood conditioner, you may end up with blotchy or uneven areas of color, which can be difficult to fix.
Use a clean, soft cloth for wiping: When working with wood, it is important to use a clean, soft cloth for wiping and buffing. Hard, abrasive cloths can damage the wood, while dirty cloths can leave behind residue that can affect the finish. Using a clean, soft cloth will help to preserve the wood and ensure a smooth, even finish. For example, if you are applying a finish to a wooden surface, you should use a clean, soft cloth to wipe away any excess finish and to buff the surface to a smooth, even shine.
Use a wood cleaner before sanding: Before sanding wood, it is a good idea to use a wood cleaner to remove any dirt or grime that may be on the surface. This will help to ensure that the sanding process is more effective, and it will also help to prevent any debris from clogging up the sandpaper. Wood cleaners are available in a variety of formulations, and they can be used to clean a wide range of wood types. For example, if you are working on an antique wooden table that has accumulated a lot of dirt and grime over the years, you should use a wood cleaner before sanding to remove any surface contaminants and prepare the wood for sanding
Use a grain filler before sanding: If you are working with wood that has a highly visible grain, you may want to consider using a grain filler before sanding. Grain fillers are specially formulated products that are used to fill in the pores and imperfections of the wood, and they can help to create a smoother and more even surface for sanding. By using a grain filler, you can achieve a better and more consistent finish, and you can also reduce the amount of sanding required. For example, if you are working on a piece of oak wood that has a very pronounced grain, you should consider using a grain filler before sanding to help create a smoother and more even surface.
Use a wood stabilizer before sanding: If you are working with wood that is highly porous or prone to splitting, you may want to consider using a wood stabilizer before sanding. Wood stabilizers are specially formulated products that are used to strengthen and stabilize the wood, and they can help to reduce the risk of splitting or cracking during the sanding process. By using a wood stabilizer, you can improve the overall stability and durability of the wood, and you can also achieve a better and more consistent finish. For example, if you are working on a piece of softwood that is prone to splintering, you should consider using a wood stabilizer before sanding to help reduce the risk of damage.
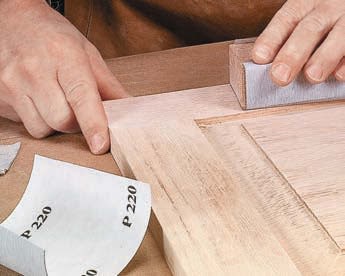
Sand in the direction of the grain: Sanding is an important step in many wood restoration projects, but it is important to do it properly. One tip that experts may know is to always sand in the direction of the grain, rather than against it. Sanding against the grain can cause scratches and imperfections that can be difficult to remove, and it can also weaken the wood. By sanding in the direction of the grain, you can achieve a smoother and more even finish, and you can also help to preserve the strength and integrity of the wood. For example, if you are sanding a wooden tabletop to prepare it for staining, you should sand in the direction of the grain to remove any roughness or imperfections, and to ensure a smooth, even surface.
Use a moisture meter to check for moisture content: Moisture can be a major enemy of wood, as it can cause warping, splitting, and other types of damage. To help prevent moisture-related issues, experts in wood restoration may use a moisture meter to check the moisture content of the wood. This can help to identify areas that are at risk of moisture-related damage, and it can also help to ensure that the wood is dry and ready for repair or treatment. For example, if you are working on a wooden door that has been exposed to the elements, you should use a moisture meter to check the moisture content of the wood before proceeding with any repairs or treatments.
Use a wood preservative before painting: If you are planning to paint wood as part of your restoration project, it is important to use a wood preservative first. This will help to protect the wood from moisture and other environmental factors, and it can also help to prevent the paint from peeling or flaking off over time. By using a wood preservative, you can ensure that your paint job lasts longer and looks better, and you can also help to extend the lifespan of the wood. For example, if you are painting a wooden window frame, you should apply a wood preservative before painting to help protect the wood and ensure a long-lasting finish.
Test the finish before applying it: Before applying a finish to wood, it is always a good idea to test it first. This can help to ensure that the finish looks and performs the way you want it to, and it can also help to prevent any mistakes or disappointments. To test a finish, experts may apply a small amount to a hidden or inconspicuous area of the wood, and then allow it to dry. This will give you a good idea of how the finish will look and perform, and it can also help you to make any necessary adjustments before applying the finish to the entire piece.
By following these secret tips and using the right techniques and materials, you can improve your wood restoration skills and achieve better results. Whether you’re working on a small repair or a large restoration project, these tips can help you to get the best possible outcome, and they can also help to extend the lifespan of your wood. With the right knowledge and expertise, you can take on any wood restoration challenge with confidence, and you can help to preserve the beauty and integrity of your wood for years to come. So, don’t be afraid to experiment, learn, and improve your skills, and you’ll be well on your way to becoming an expert in wood restoration!

Matt Sarmadi is an international trained Architect with a passion for carpentry. While he has spent the majority of his career working on commercial building restoration, he has always had a love for working with wood. In this blog, he shares his knowledge and experience with carpentry, including tips and techniques, and the latest tools and material. He is the owner of Renofield Inc.


We believe that it is important to protect the environment and preserve the unique character of our communities.
Copyright © 2022 For RENOFIELD. All Rights Reserved.
Copyright © 2022 For RENOFIELD. All Rights Reserved.