Wood Window Restoration 101
- admin
- March 29, 2023
- 1:26 pm
- No Comments
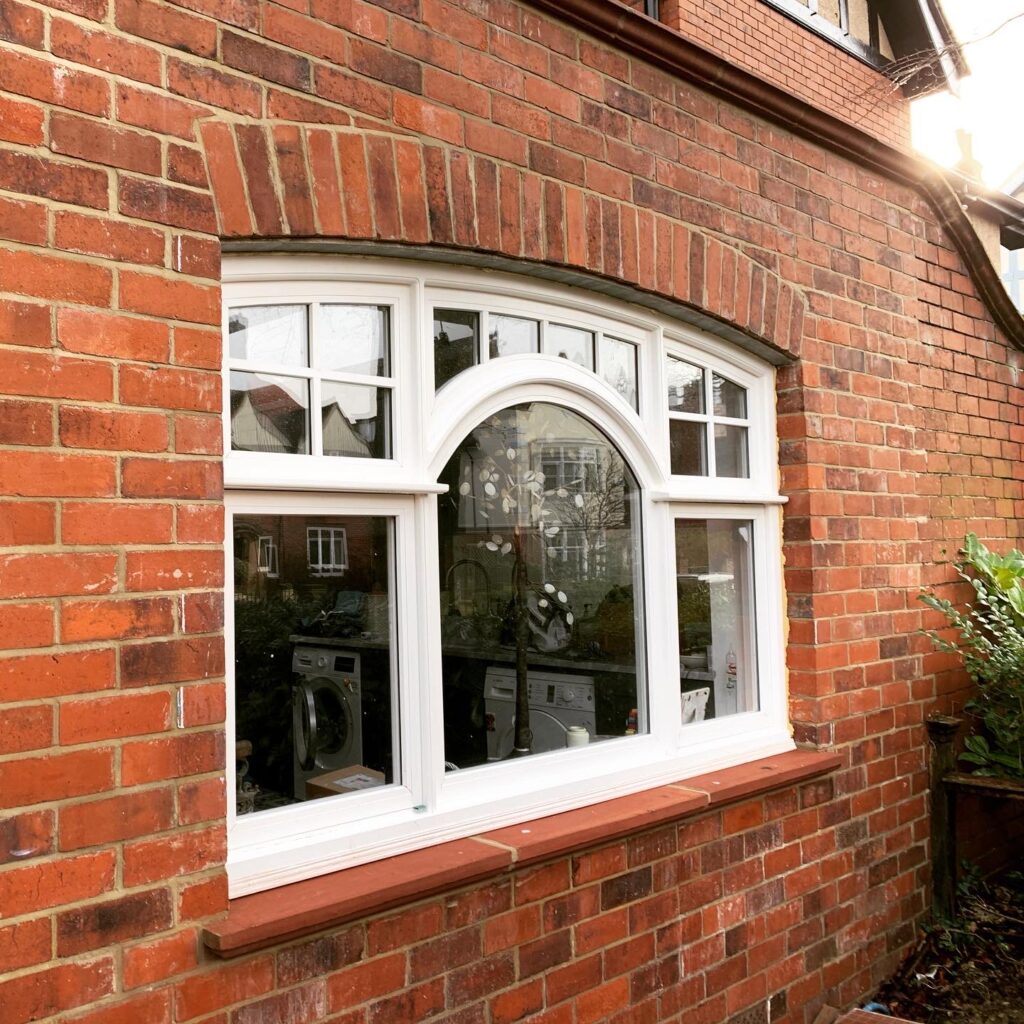
Wood window restoration is an important aspect of preserving the character and integrity of heritage buildings. It involves the repair and preservation of wooden windows, ensuring that they are functional and attractive, while also preserving their original design and details. The process of restoring wooden windows in heritage buildings is a delicate one that requires a combination of skilled craftsmanship and attention to detail. This article will provide an overview of the steps involved in the restoration of wooden windows in heritage buildings, including examples and tips for successful preservation.
Assessment
The first step in restoring wooden windows in a heritage building is to conduct a thorough assessment of the existing windows. This involves a close inspection of the frame, sash, and glazing, as well as any hardware and fittings. The assessment should take into account the age, condition, and original design of the windows, as well as any alterations or damage that may have occurred over time.
Cleaning
Cleaning is an important part of the restoration process, as it removes any dirt, grime, or other buildup that may be affecting the appearance and performance of the windows. This can be done using a gentle cleaning solution, such as warm water and soap, or a specialized cleaning product specifically designed for use on wooden windows.
There are several types of materials that can be used for cleaning wooden windows. Some of the most common materials include:
1. Soap and Water: A simple solution of soap and water is often used for cleaning wooden windows. This solution should be made with a mild soap, such as dish soap, to avoid damaging the wood. The soap and water solution should be applied to the window using a soft cloth or sponge, and then rinsed thoroughly with clean water.
2. White Vinegar: White vinegar is a natural and effective cleaning solution for wooden windows. Mix one part white vinegar with one part water, and apply the solution to the window using a soft cloth or sponge. Rinse the window thoroughly with clean water.
3. Borax: Borax is a natural cleaning agent that can be used for cleaning wooden windows. Mix one part borax with two parts water, and apply the solution to the window using a soft cloth or sponge. Rinse the window thoroughly with clean water.
4. Commercial Cleaners: There are several commercial cleaners available that are specifically designed for cleaning wooden windows. These cleaners should be chosen carefully, as some contain harsh chemicals that can damage the wood. Read the label carefully and follow the manufacturer’s instructions when using commercial cleaners.
5. Beeswax or Linseed Oil: Beeswax or linseed oil can be used to clean and protect the wood on your windows. Beeswax can be applied to the window using a soft cloth, and linseed oil can be applied using a clean brush.
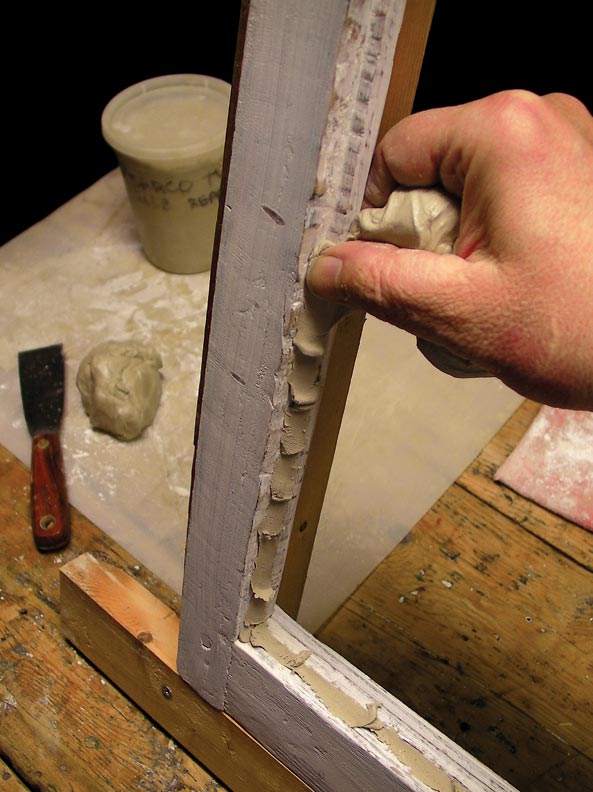
Repair
Once the assessment has been completed, the next step is to make any necessary repairs to the windows. This may involve fixing or replacing damaged or missing parts, such as glazing bars or sash weights, as well as repairing any damage to the frame or sash. In some cases, it may also be necessary to reinforce the windows to improve their structural stability.
Some of the most common types of wood repairs include:
A Dutchman repair is a technique used to repair small areas of damaged or missing wood. The Dutchman repair involves cutting a piece of wood to match the size and shape of the damaged area, and then gluing it into place. This type of repair is often used to repair small cracks, chips, or missing pieces of wood in wooden windows. The key to a successful Dutchman repair is to match the color and grain of the new wood as closely as possible to the existing wood.
An epoxy repair is a technique used to repair larger areas of damaged or missing wood. The epoxy repair involves filling the damaged area with an epoxy resin, which is then sanded and shaped to match the surrounding wood. This type of repair is often used to repair larger cracks or missing pieces of wood in wooden windows, or to reinforce the structure of the window. Epoxy repairs are strong and durable, and they can be sanded and stained to match the surrounding wood.
A patch repair is a technique used to repair large areas of damaged or missing wood in wooden windows. The patch repair involves removing the damaged or missing wood and replacing it with a new piece of wood that is cut to match the size and shape of the missing piece. This type of repair is often used to repair damaged sash or frame components, or to reinforce the structure of the window.
A splice repair is a technique used to repair long, continuous areas of damaged or missing wood in wooden windows. The splice repair involves removing the damaged or missing wood and replacing it with a new piece of wood that is spliced into the existing piece. This type of repair is often used to repair damaged sash or frame components, or to reinforce the structure of the window.
Painting or Staining
Once the windows have been repaired and cleaned, they may need to be repainted or restained to restore their original appearance. This may involve matching the existing paint or stain color, or selecting a new color that is appropriate for the heritage building. It is important to use high-quality paint or stain products that are specifically designed for use on wooden windows, as these products will provide the best protection and durability.
Some of the most common types of paint and stains used for wood window restoration include:
1. Oil-Based Stains
Oil-based stains are a popular choice for wood window restoration because they penetrate deeply into the wood, providing good protection and a rich, natural look. Oil-based stains are available in a wide range of colors, and they can be used to highlight the natural grain of the wood. One drawback of oil-based stains is that they can take a long time to dry and may emit strong fumes during application.
2. Water-Based Stains
Water-based stains are a newer type of stain that is becoming more popular for wood window restoration. These stains are easy to apply, dry quickly, and emit little to no fumes during application. Water-based stains are also available in a wide range of colors and are less likely to yellow over time than oil-based stains. One drawback of water-based stains is that they may not penetrate as deeply into the wood as oil-based stains, providing less protection for the wood.
3. Oil-Based Paints
Oil-based paints are a traditional choice for wood window restoration because they provide good protection and a durable finish. Oil-based paints are available in a wide range of colors and are often used to match the original paint color of heritage buildings. One drawback of oil-based paints is that they can take a long time to dry and may emit strong fumes during application.
4. Water-Based Paints
Water-based paints are a newer type of paint that is becoming more popular for wood window restoration. These paints are easy to apply, dry quickly, and emit little to no fumes during application. Water-based paints are also available in a wide range of colors and are less likely to yellow over time than oil-based paints. One drawback of water-based paints is that they may not adhere as well to the wood as oil-based paints, and they may not provide as much protection for the wood.
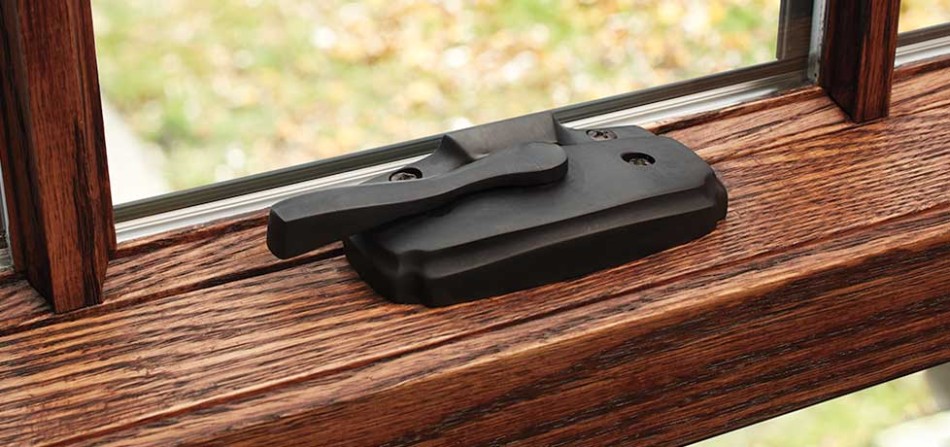
Hardware and Fittings
The hardware and fittings of wooden windows, such as handles, locks, and hinges, can also play an important role in the overall appearance and functionality of the windows. These elements may need to be repaired or replaced if they are damaged, missing, or worn, and should be selected to match the style and age of the heritage building.
Here are some of the most common types of hardware and fittings used in heritage wood windows:
1. Hinges
Hinges are an important component of wood windows and are used to attach the window sash to the frame. Heritage wood windows typically use traditional butt hinges or mortise hinges, which are designed to provide secure and long-lasting support for the window sash.
2. Latches
Latches are used to keep the window sash closed and secure. Heritage wood windows often use traditional slide bolts, hook and eye latches, or surface-mounted latches, which are designed to complement the style of the windows.
3. Sash Lifts
Sash lifts are used to open and close the window sash. Heritage wood windows often use traditional wrought iron or brass sash lifts, which are durable and provide a classic look.
4. Weatherstripping
Weatherstripping is used to seal the gaps around the window sash and frame, preventing air and moisture infiltration. Heritage wood windows often use traditional felt or rope weatherstripping, which is durable and provides a good seal.
5. Sash Cord and Pulleys
Sash cord and pulleys are used to counterbalance the weight of the window sash and make it easier to open and close. Heritage wood windows often use traditional cotton or hemp sash cord, which is strong and long-lasting.
Glazing
Finally, the glazing of the windows may need to be repaired or replaced to improve their energy efficiency and performance. This may involve the installation of new double-glazed units, or the repair of existing glazing units. In order to preserve the character and appearance of the windows, it is important to select glazing units that are appropriate for the heritage building and that match the original design and details.
Here is a step-by-step explanation of the glazing process for heritage wood windows:
1. Removing the Putty
The first step in the glazing process is to remove the old putty. Putty is the material that is used to hold the glass in place and seal it against the frame. Old putty can become brittle and crack over time, so it is important to remove it and replace it with fresh putty. This can be done with a putty knife or a specialized tool called a “scraping blade.”
2. Cleaning the Muntin Bars
Muntin bars are the horizontal and vertical pieces of wood that divide a single window into multiple panes. Before re-glazing, it is important to clean the muntin bars to remove any dirt or debris that may have accumulated on them. This can be done with a soft-bristled brush or a cloth.
3. Measuring the Glass
Once the old putty and muntin bars have been removed and cleaned, the next step is to measure the glass. This will ensure that the new glass fits properly in the frame and provides a good seal. The measurement should include the width and height of the glass, as well as the thickness of the muntin bars.
4. Cutting the Glass
Once the measurements have been taken, the next step is to cut the glass. This can be done with a specialized glass cutter or a glass cutting tool. It is important to measure and cut the glass carefully to ensure that it fits properly in the frame and provides a good seal.
5. Applying the Putty
Once the glass has been cut, the next step is to apply the putty. Putty is a pliable material that is used to hold the glass in place and seal it against the frame. The putty should be applied in a continuous bead around the perimeter of the glass and the muntin bars, taking care to fill any gaps and ensure a good seal.
6. Painting the Putty
Once the putty has been applied, the next step is to paint it. This helps to protect the putty from the elements and ensure that it lasts for many years. The paint should be a high-quality paint that is designed for use on wood and can withstand the elements.
In conclusion, the restoration of wooden windows in heritage buildings is a complex process that requires a combination of skill, attention to detail, and a deep understanding of the unique character and history of each building. By following these steps, you can ensure that your wooden windows are preserved for generations to come, and that the character and integrity of your heritage building is protected.

Matt Sarmadi is an international trained Architect with a passion for carpentry. While he has spent the majority of his career working on commercial building restoration, he has always had a love for working with wood. In this blog, he shares his knowledge and experience with carpentry, including tips and techniques, and the latest tools and material. He is the owner of Renofield Inc.


We believe that it is important to protect the environment and preserve the unique character of our communities.
Copyright © 2022 For RENOFIELD. All Rights Reserved.
Copyright © 2022 For RENOFIELD. All Rights Reserved.